Welcome to the Nikon F3 user manual, your comprehensive guide to mastering this iconic camera․ Designed for both professionals and enthusiasts, this manual covers setup, operation, advanced techniques, and troubleshooting․ Organized into clear sections, it helps you unlock the F3’s full potential and enhance your photography skills․
1․1 Overview of the Nikon F3 Camera
The Nikon F3 is a legendary 35mm SLR camera known for its durability, manual controls, and compatibility with Nikkor lenses․ It features a titanium shutter, interchangeable viewfinders, and a robust design․ The F3 offers manual and aperture-priority modes, with shutter speeds from 8 to 1/2000 sec․ Its center-weighted metering system ensures accurate exposures․ A favorite among professionals, it combines reliability with creative control, making it a timeless tool for photographers․
1․2 Importance of Reading the User Manual
Reading the Nikon F3 user manual is essential for understanding its features, troubleshooting, and optimizing performance․ It provides detailed guidance on camera operation, maintenance, and advanced techniques․ By familiarizing yourself with the manual, you can unlock the F3’s full potential, avoid common issues, and ensure proper care for your equipment․ This resource is invaluable for both beginners and experienced photographers seeking to master the Nikon F3․
1․3 Structure of the User Manual
The Nikon F3 user manual is organized into clear, logical sections for easy navigation․ It begins with an introduction, followed by basic operation, camera controls, focusing, flash photography, advanced techniques, maintenance, troubleshooting, accessories, and a conclusion․ Each section is designed to guide users through understanding and mastering the camera’s features․ The manual also includes detailed diagrams, troubleshooting tips, and best practices for optimal performance․ This structured approach ensures comprehensive understanding of the Nikon F3․
Basic Operation of the Nikon F3
Mastering the Nikon F3 begins with understanding its intuitive controls․ Learn to set shutter speed, aperture, and exposure modes for precise control over your photography experience․
2․1 Getting Started with the Nikon F3
Begin by familiarizing yourself with the Nikon F3’s manual mode, as it offers full control over exposure settings․ Load film by aligning the leader with the take-up spool․ Set the ISO on the lens or camera body․ Ensure the shutter speed dial is off “A” for manual operation․ Check battery life and use the shutter release button gently to avoid camera shake․ Refer to the manual for detailed setup and operation guidance․
2․2 Understanding the Camera Controls
Familiarize yourself with the Nikon F3’s intuitive controls․ The shutter speed dial, located on the top-left, adjusts exposure time․ The aperture ring, found on the lens, controls light intake․ The exposure memory lock button, near the shutter release, freezes settings for precise metering․ The film advance lever winds the shutter and advances the film․ These controls enable seamless manual operation, allowing photographers to achieve desired results effectively․
2․3 Setting the Shutter Speed
To set the shutter speed on the Nikon F3, use the shutter speed dial located on the top-left side of the camera․ Rotate the dial to select speeds from 1/8000 sec․ to 8 sec․, including Bulb (B) and Time (T) modes․ When in manual mode, move the dial off the “A” position and depress the unlock button to adjust․ Choose faster speeds for freezing motion or slower speeds for creative blur effects․ Ensure proper exposure by coordinating with aperture settings․
2․4 Adjusting the Aperture
Adjust the aperture on the Nikon F3 by rotating the aperture ring located on the lens․ This controls the f-stop value, which determines the amount of light entering the lens․ Common f-stops range from f/1․4 to f/32․ Rotate the ring until the desired f-stop aligns with the indicator․ Wider apertures (lower f-numbers) create a shallower depth of field, while narrower apertures (higher f-numbers) increase depth of field․ Monitor the exposure meter to ensure proper lighting balance․
2․5 Using the Exposure Modes
The Nikon F3 offers Manual (M) and Aperture Priority (A) exposure modes․ In Manual mode, adjust both aperture and shutter speed independently for full control․ Aperture Priority mode allows you to set the aperture, while the camera automatically adjusts the shutter speed․ Use the aperture ring to select f-stops and the shutter speed dial for precise exposures․ The built-in metering system ensures accurate light measurement, helping you achieve optimal results in various lighting conditions․ Experiment with modes to refine your photography style․
Camera Controls and Functions
The Nikon F3 features intuitive controls, including the shutter speed dial, aperture ring, and exposure memory lock button․ These components enable precise manual exposure adjustments, ensuring creative control and accurate results․
3․1 Shutter Speed Dial Operation
The Nikon F3’s shutter speed dial is located on the top plate, offering manual control of speeds from 1/8000 sec․ to 8 sec․, plus Bulb (B) and Time (T) modes․ To set the shutter speed, press the unlock button and rotate the dial to the desired speed․ The dial clicks into place at each setting, ensuring precise control․ The B mode keeps the shutter open as long as the release is pressed, while T mode opens with a press and closes with a second press․ This feature allows for creative control over exposure, making it ideal for advanced photographers seeking manual operation․
3․2 Aperture Ring and Metering
The Nikon F3 features a manual aperture ring on compatible Nikkor lenses, allowing precise control over f-stops․ The camera’s center-weighted metering system provides accurate exposure readings․ Rotate the aperture ring to adjust the f-stop, with the lens locked at the desired setting․ The metering system automatically adjusts based on the selected aperture and shutter speed, ensuring optimal exposure․ This system works seamlessly with both AI and non-AI lenses for consistent results․
3․3 Exposure Memory Lock Button
The Exposure Memory Lock Button on the Nikon F3 allows you to lock the metered exposure reading․ Pressing the button once locks the current exposure, enabling consistent results across multiple shots․ This feature is particularly useful for backlit or high-contrast scenes․ Located near the lens mount, it provides quick access to exposure control, ensuring your settings remain unchanged until you release the lock․ This function enhances creative control over your photography․
3․4 Film Advance and Rewind
The Nikon F3 features a smooth film advance mechanism․ To advance film, depress the shutter release and wind the lever counterclockwise․ For rewinding, use the rewind crank located on the top right․ Ensure the film leader is securely attached before rewinding․ The process is efficient and designed for quick operation, allowing you to move seamlessly between shots and maintain workflow without interruption․ Proper handling ensures your film is protected during these operations․

Focusing and Metering
Focusing and metering are crucial for precise control over your images․ The Nikon F3 offers manual focusing and a center-weighted metering system, ensuring accurate exposures and sharp focus․
4․1 Manual Focusing Techniques
Mastering manual focusing on the Nikon F3 enhances precision and control․ Use the high-eyepoint viewfinder for clear framing․ Turn the focus ring gently until your subject sharpens․ For added accuracy, pair the F3 with Focus Aid Nikkor lenses, which provide tactile feedback․ Ensure the meter needle aligns with the desired aperture for proper exposure․ Practice this technique to achieve razor-sharp images consistently․
4․2 Center-Weighted Metering System
The Nikon F3 features a center-weighted metering system, prioritizing the central 12mm area for balanced exposures․ This system works seamlessly with both AI and non-AI lenses, ensuring accurate readings․ The metering range spans from EV -1 to EV 18, covering a wide range of lighting conditions․ For optimal results, use manual controls in complex lighting scenarios․ The exposure memory lock button allows you to adjust readings, ensuring precise control over your photography․
4․3 Using the Focus Aid Nikkor Lenses
The Nikon F3 is compatible with Focus Aid Nikkor lenses, designed to simplify manual focusing․ These lenses feature a smooth, precise focusing ring and clear depth-of-field markings, ensuring sharp images․ The Focus Aid mechanism enhances visibility, particularly in low-light conditions․ When paired with the F3, these lenses provide exceptional control, allowing photographers to achieve precise focus effortlessly․ This combination is ideal for capturing professional-quality images with ease and accuracy․

Flash Photography with the Nikon F3
The Nikon F3 supports flash photography with the SB-12 unit, offering versatile sync modes and manual control․ It ensures precise illumination and enhanced creativity in various lighting conditions․
5․1 Basic Flash Photography Setup
To set up flash photography with the Nikon F3, install batteries in the SB-12 flash unit, attach it to the camera’s hot shoe, and ensure proper synchronization․ The flash is automatically triggered at the correct sync speed for optimal results․ Use the manual mode for precise control over flash output, ensuring compatibility with the F3’s shutter system for consistent and professional lighting effects in various conditions․
5․2 Using the SB-12 Flash Unit
The SB-12 flash unit is a dedicated accessory for the Nikon F3, offering advanced flash photography capabilities․ It supports TTL metering for automatic exposure control and features a manual override for precise flash output adjustment․ The unit is powered by four AA batteries and includes a bounce head for versatile lighting setups․ For optimal performance, ensure the flash is securely mounted on the camera’s hot shoe and test its operation before critical shoots․
5․3 Sync Speed and Flash Modes
The Nikon F3 supports a maximum sync speed of 1/80 sec․ for flash photography․ When using the SB-12 flash unit, the camera automatically adjusts to this speed․ The F3 offers two flash modes: TTL (Through-The-Lens) metering for automatic flash exposure and Manual mode for precise control․ TTL mode ensures balanced flash and ambient light, while Manual mode allows custom flash output settings․ Always test sync speed and flash modes before shooting to ensure proper exposure and avoid overexposure or ghosting effects․

Advanced Shooting Techniques
Explore creative photography with multiple exposures, long exposures, and bulb (B) mode․ These techniques allow for artistic effects like light trails, starry skies, and unique textures, enhancing your storytelling․
6․1 Multiple Exposure Photography
The Nikon F3 enables multiple exposures, allowing you to capture several images on a single frame․ This feature is ideal for creative effects like overlapping subjects or blending light trails․ To use it, set the multiple exposure mode, shoot each frame, and the camera will layer them automatically․ Experiment with different techniques to achieve unique, artistic results in your photography․
6․2 Long Exposure and Time (T) Mode
The Nikon F3’s Time (T) Mode allows for long exposures, perfect for capturing star trails, light trails, or creative effects․ Set the mode by rotating the shutter speed dial to “T․” The shutter remains open until you manually release it․ For even longer exposures, use the Bulb (B) Mode, which keeps the shutter open as long as the release is pressed․ These modes offer versatility for artistic and low-light photography․
6․3 Bulb (B) Mode for Night Photography
The Bulb (B) Mode on the Nikon F3 is ideal for night photography, enabling exposures lasting as long as the shutter release is pressed․ Perfect for capturing starry skies or cityscapes, this mode offers full manual control․ Use a remote release or cable to minimize camera shake․ The F3’s low power consumption ensures extended shooting sessions, making it a reliable choice for long-duration nighttime exposures and creative photography․

Camera Maintenance and Care
Regularly clean the camera and lenses with a soft cloth to prevent damage․ Store batteries properly and check expiration dates․ Keep the F3 in a cool, dry place, using a protective case during transport to ensure longevity and optimal performance․
7․1 Cleaning the Camera and Lenses
Regular cleaning is essential to maintain the Nikon F3’s performance․ Use a soft, dry cloth to wipe the camera body and external surfaces․ For lenses, apply a microfiber cloth and lens cleaning solution․ Avoid circular motions to prevent scratches․ Inspect the viewfinder and mirror box for dust, using a blower for gentle removal․ Never touch lens surfaces with bare hands, and avoid using tissues or household cleaners, which may damage coatings․
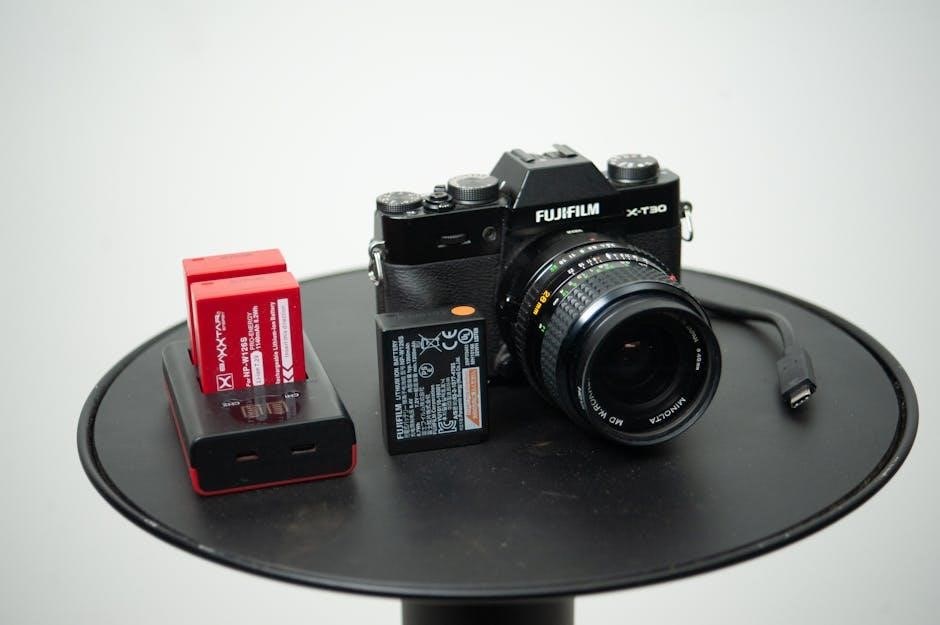
7․2 Battery Maintenance and Replacement
Proper battery care is crucial for the Nikon F3’s operation․ Use high-quality LR44 or SR44 batteries, ensuring they are fresh and correctly installed․ Avoid extreme temperatures and humidity, which can drain battery life․ Replace batteries every 12 months or when the shutter slows․ Store spare batteries in a cool, dry place, away from metal objects․ Dispose of used batteries responsibly․ Always power down the camera when not in use to conserve energy․
7․3 Storage and Transportation Tips
Store the Nikon F3 in a cool, dry place, away from direct sunlight and moisture․ Use a protective case or pouch to prevent scratches and dust accumulation․ When transporting, ensure the camera is securely packed in a sturdy, padded bag or case․ Avoid extreme temperatures or humidity, which can damage internal components․ Clean the camera thoroughly before storage to prevent dust buildup․ Always handle the F3 with care to maintain its longevity and performance․
Troubleshooting Common Issues
This section helps resolve common problems like shutter curtain issues, metering malfunctions, and film loading difficulties․ Follow step-by-step solutions to identify and fix issues efficiently․
8․1 Shutter Curtain Issues
Shutter curtain issues can cause uneven exposures or light leaks․ Check for synchronization problems or physical damage․ Clean the curtains gently or seek professional repair․ Ensure proper manual control operation to avoid further damage․ Refer to the repair manual for detailed troubleshooting steps and maintenance tips to resolve these issues effectively․ Regular inspection and proper handling are key to preventing shutter-related problems․ Always use recommended cleaning methods to maintain optimal performance․ If issues persist, consult a Nikon-authorized service center for assistance․
8․2 Metering System Malfunctions
Metering system malfunctions may cause inaccurate exposure readings․ Check battery levels and ensure proper lens alignment․ Clean the light meter window and sensor for optimal performance․ If issues persist, try manual mode operation as a workaround․ Consult the user manual or contact a professional for advanced troubleshooting․ Regular maintenance and proper handling can prevent such malfunctions, ensuring precise metering and consistent results in your photography sessions․
8․3 Film Loading and Advancement Problems
Film loading and advancement issues can occur if the film is not properly aligned with the spool or if the back cover is not closed securely․ Ensure the film leader is correctly positioned and the film counter resets to “S․” If the film does not advance smoothly, check for obstructions or debris in the film path․ Proper loading techniques and regular camera maintenance can prevent such issues, ensuring seamless film handling and consistent results․

Accessories and Compatibility
Explore compatible Nikkor lenses, flash units, and other accessories to enhance your Nikon F3 experience․ Ensure all accessories are Nikon-approved for optimal performance and compatibility, maximizing your camera’s potential with trusted gear and official resources․
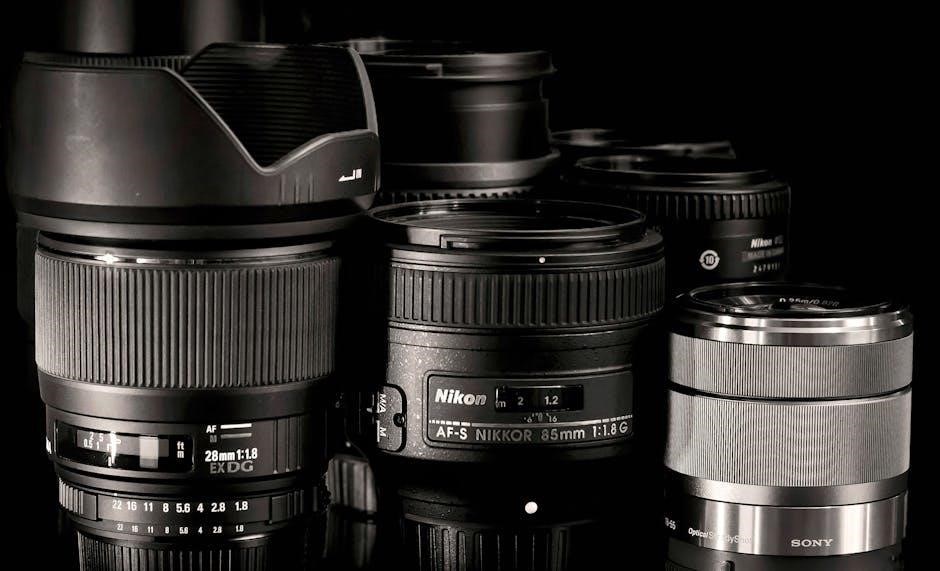
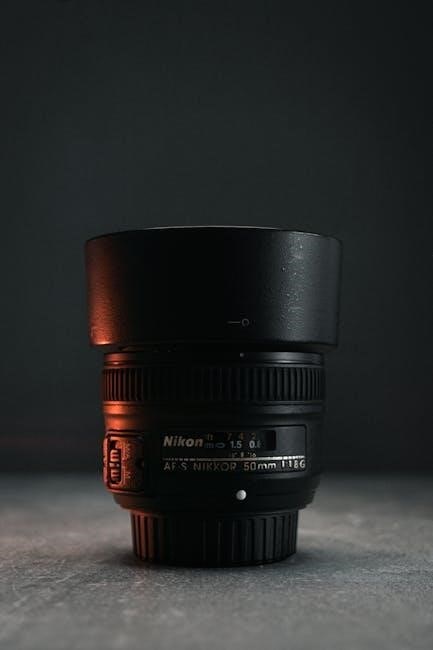
9․1 Compatible Nikkor Lenses
The Nikon F3 is compatible with a wide range of Nikkor lenses, including AI, AI-S, and Series E lenses, ensuring versatility for various photography needs․ AF-Nikkor lenses also work seamlessly, though manual focus may be required for older models․ The F3 supports non-AI lenses in manual mode, offering flexibility for photographers with legacy glass․ Always use Nikon-approved lenses to maintain optimal performance and compatibility with your camera․
9․2 Using the Nikon F3 with Flash Units
The Nikon F3 is compatible with various flash units, including the SB-12, offering versatile flash photography options․ Basic operation involves installing batteries, setting sync modes, and adjusting flash intensity․ The SB-12 supports multiple flash modes, making it suitable for diverse lighting needs․ Ensure proper sync speed and connection to achieve optimal results․ This setup enhances creativity in low-light conditions, providing reliable performance for professional and enthusiast photographers alike․
9․3 Other Accessories for Enhanced Functionality
Beyond flash units, the Nikon F3 supports a range of accessories to enhance functionality․ These include Nikkor lenses, remote shutter releases, and interchangeable viewfinders․ Additional equipment like camera bags and tripod adapters ensure convenience and protection․ The manual provides guidance on selecting and using these accessories effectively, helping you optimize your photography experience and adapt to various shooting scenarios with ease and precision․

Digital and Film Considerations
The Nikon F3 excels in film photography, offering precise ISO control and film recommendations․ It also supports digital scanning, bridging analog and modern techniques seamlessly․
10․1 Understanding Film Speed (ISO)
Film speed, measured by ISO, determines sensitivity to light․ Lower ISOs (e․g․, 100) suit bright conditions, while higher ISOs (e․g;, 400, 1600) are ideal for low light․ The Nikon F3 supports a range of ISOs, allowing photographers to balance grain and image quality․ Proper ISO selection is crucial for achieving desired results, ensuring sharp, well-exposed images in various lighting scenarios․
10․2 Film Recommendations for the F3
For the Nikon F3, popular film choices include Kodak Tri-X (400 ISO) and Ilford HP5 for black and white photography, offering excellent contrast and grain structure․ Color options like Fujifilm Velvia (50 ISO) provide vibrant, saturated hues, while Kodak Portra (400 ISO) excels for portraits with natural tones․ Experiment with different films to balance grain and image quality, ensuring optimal results in various lighting conditions․ Proper film selection enhances the F3’s performance․
10․4 Digital vs․ Film Photography with the F3
Digital photography offers convenience and instant results, but film photography with the Nikon F3 provides a unique, tactile experience․ Shooting with film demands a deeper understanding of manual controls and exposure settings, encouraging careful composition and patience․ The F3’s design complements this process, making each shot deliberate and meaningful․ Film’s distinct aesthetic, with its grain and tonal range, adds a quality that many find irreplaceable by digital formats․
PDF Manual and Resources
The Nikon F3 PDF manual is available for download, offering detailed instructions and troubleshooting guides․ Additional resources include repair manuals and online forums for support․
11․1 Accessing the Nikon F3 PDF Manual
The Nikon F3 PDF manual is readily available online, providing detailed instructions for camera operation, maintenance, and troubleshooting․ Users can download it from Nikon’s official website or through the Nikon Manual Viewer 2 app․ Additionally, third-party websites offer free access to the manual, ensuring easy reference for photographers․ The PDF format allows for convenient viewing on smartphones, tablets, or computers, making it a versatile resource for F3 enthusiasts․
11․2 Additional Repair and Maintenance Guides
Beyond the official manual, enthusiasts can find extensive repair and maintenance guides for the Nikon F3 online․ These resources include detailed repair manuals, troubleshooting tips, and step-by-step instructions for common issues․ Websites like Nikon’s support page and community forums offer valuable insights․ Additionally, third-party archives provide comprehensive service manuals, ensuring that photographers can maintain and repair their F3 with confidence and precision, preserving its functionality for years to come․
11․3 Online Communities and Forums
Online communities and forums dedicated to the Nikon F3 provide invaluable resources for photographers․ Platforms like Nikon forums, social media groups, and photography websites offer real-time discussions, troubleshooting tips, and expert advice․ These spaces allow users to share experiences, learn from professionals, and gain insights into optimizing their F3․ Additionally, many forums host extensive archives of repair guides, user manuals, and technical discussions, making them a wealth of knowledge for F3 enthusiasts worldwide․
Mastery of the Nikon F3 requires practice, understanding its key features, and exploring its capabilities․ Refer to the manual and online resources for further guidance and optimization․
12․1 Summary of Key Features
The Nikon F3 offers manual control of shutter speeds, aperture, and exposure modes, ensuring creative flexibility․ It features a center-weighted metering system and compatibility with Nikkor lenses, including Focus Aid lenses․ Built for durability, the F3 supports flash units like the SB-12 and includes film handling, multiple exposures, and long exposure modes․ Its design balances professional-grade functionality with intuitive operation, making it a versatile tool for photographers of all skill levels․
12․2 Final Tips for Mastering the Nikon F3
- Always use high-quality Nikkor lenses for optimal image clarity and focus precision․
- Regularly clean and maintain the camera to ensure longevity and proper functionality․
- Experiment with different film speeds and exposure modes to achieve desired results․
- Master manual controls for full creative control over your photography․
- Practice using the metering system to understand its nuances and improve exposures․
These tips will help you maximize the Nikon F3’s capabilities and enhance your photographic experience․